YOU CAN UPLOAD 2 DIFFERENT LOGOS:
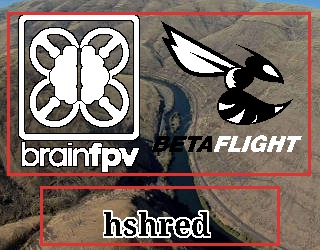 Splash Screen Logo (TOP)
- This logo is shown on startup and when arming your quad. It's a great way to show your custom logo or team logo. You can create as many splash screen logos as you want and share them with others.
- Pilot Logo (BOTTOM)
- This is your own personal logo that is intended to display your "pilot name" on the bottom of the OSD. Once you have set your pilot logo, it will automatically be included in all the logo files you download.
HOW TO MAKE CUSTOM LOGOS
- Open your favorite image editor, e.g., GIMP or Photoshop
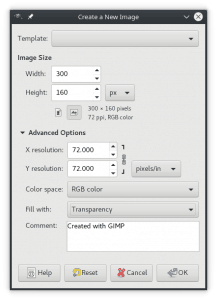
- Create a new image with:
- 300 x 160 pixels
- transparent background
- The example on the right shows the "New Image" dialog in GIMP for a splash screen logo. Note how the size has been set to 300 x 160 and "Fill with" is set to "Transparency", which creates an image with a transparent background.
- After creating a blank image, you need to edit the pixels. The OSD can only display black and white pixels, so make sure to only use black and white. All other colors are automatically converted to black, white, or transparent when you upload the image. So it may not look like you expect if you use other colors.
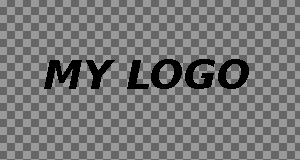
- In the following example, we create a simple logo with just some text. First, write some text some text in black using the text tool.** Make sure that "antialiasing" is disabled, so you will only get black pixels.
- To make text or graphical elements better visible in the OSD, it is a good idea to surround black elements with white pixels and vice versa.
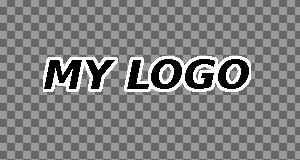
- To do so:
- use the "Select by Color" tool to select the black pixels
- grow the selection by a few pixels (Select -> Grow in the menu).
- subtract the black pixels from the selection by pressing CTRL and clicking on the black pixels.
- use the "Bucket Fill" tool to fill the selected pixels with white.
- Check your image!
- You may also want to zoom in a set single pixels to black or white, or delete them until the logo looks good.
- Make sure to use a "hard brush" so you can toggle pixels between black and white and don't get grayscale values.
- Finally, save the image as a .PNG file. Other image formats, such as JPEG etc are not supported.